

Can You Microwave a Mug Cake?
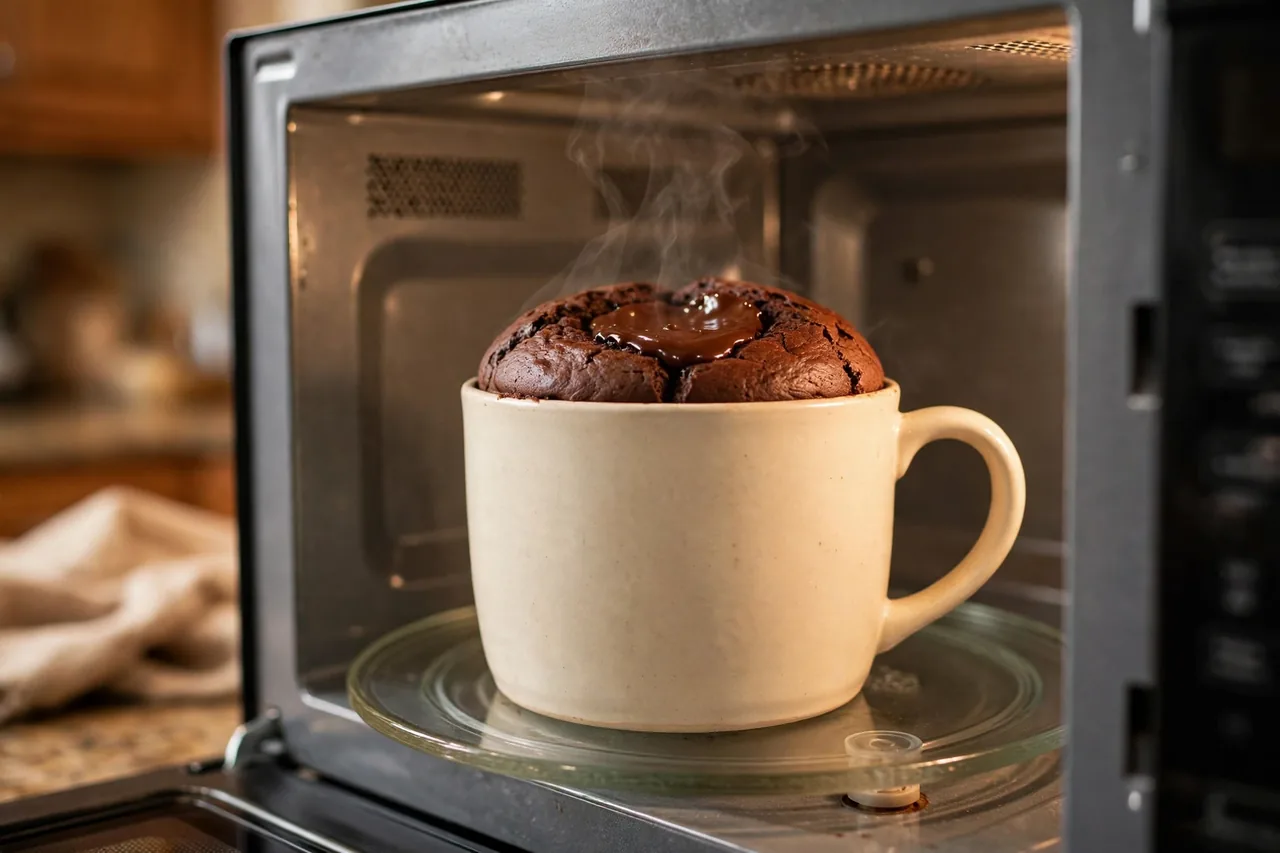
Quick answer: Yes, you can microwave a mug cake, and it is safe when you do it right. Use a microwave-safe mug that holds at least 12 ounces, fill it no more than halfway with batter, and cook for 60 to 90 seconds on full power (or 2 to 2 and a half minutes at 30 percent power for a gentler rise). Stop when the top looks set but still slightly glossy, then rest the cake for 2 minutes. The resting time finishes the cooking through carry-over heat, and it is the single biggest difference between a soft, moist mug cake and a rubbery one.
The mug cake is one of the most searched microwave questions in the dessert world, and also one of the most disappointing. Everyone has seen the promise: warm chocolate cake in 90 seconds, one mug, no oven. What people actually get is a rubbery puck, a lava spill over the mug’s edge, or a cake that is raw in the middle and scorched on the edges. These failures are not bad luck. They come from real physics: microwaves heat unevenly, small batters overcook in seconds, and most recipes never explain the mug itself matters as much as the batter.
Most of what ranks for this question is recipe sites that hand you a recipe and stop there. They rarely explain which mugs are safe, why a whole egg ruins the texture, or what “done” actually looks like in a microwave. This guide covers all of it: the safety questions, the right mug, the method, exact times by microwave wattage, the seven mistakes that ruin almost every mug cake, and fixes that actually work. If you are in a hurry, the quick answer above is all you need.
Can You Microwave a Mug Cake? The Short Answer
Yes. A mug cake is literally designed for the microwave. The batter is small, the cooking time is short, and the mug doubles as both the baking pan and the serving dish. There is nothing unsafe about microwaving cake batter in a proper mug, as long as the cake cooks through. The problems people run into are quality problems (rubbery, dry, overflowing), not safety problems.
One genuine safety point: the batter must be fully cooked before you eat it. Cake batter contains raw flour and often raw egg. The FDA warns that raw flour can carry harmful bacteria like Salmonella and E. coli, because flour is made from raw grains that are not treated to kill pathogens, and the FDA states that cooking is the only way to be sure flour-containing foods are safe (source: FDA). The good news is that a properly microwaved mug cake reaches well above the temperatures that kill these bacteria. Just do not taste-test the raw batter, and do not stop the cooking early because the edges look done.
For the bigger picture of what your microwave can and cannot handle, see our main guide to what you can microwave.
How a Mug Cake Actually Cooks in the Microwave
Understanding what happens inside the microwave explains nearly every mug cake failure. Microwaves heat food by making water molecules vibrate, which generates heat. In a full-size oven, heat moves slowly from the outside in. In a microwave, heat is generated throughout the food at once, but unevenly, because microwaves form hot and cold spots inside the cavity.
In a mug cake, this means the edges cook fast while the center lags behind. The batter near the mug walls can go from perfect to overcooked in 15 seconds, while the middle is still liquid. This is why recipes tell you to stop when the center still looks a little glossy: the residual heat keeps cooking the cake after you take it out, a process called carry-over cooking. Pull it when it looks done, and carry-over heat will push it into overdone.
The rubbery texture has a specific cause. Cake batter contains flour (starch and gluten) and often egg (protein). Both tighten up when overcooked. In a microwave, “overcooked” arrives much faster than in an oven because the heating is so intense. A whole egg in a tiny single-serving batter is a common culprit: the extra protein sets into a chewy, bouncy crumb. Several mug cake troubleshooters note that swapping the whole egg for just the yolk, or for a tablespoon of yogurt or applesauce, gives a much more tender result (source: Eat Healthy 365).
Timing sensitivity is the other half of the story. One troubleshooting guide puts it plainly: because mug cakes are tiny and cook so quickly, even an extra 15 to 20 seconds can turn a soft cake into something chewy and rubbery, so you should always microwave for the shortest time a recipe suggests and add time in small bursts (source: Best Mug Cakes). Keep that 15-second rule in your head and most mug cake disasters disappear.
The Mug Matters More Than the Recipe
Here is the part almost no recipe mentions: the mug itself can make or break the cake, and some mugs are not safe to use at all. Get the mug wrong and even a perfect recipe fails.
Use a microwave-safe mug, and verify it. Most plain ceramic, glass, and porcelain mugs are microwave safe, but “most” is not “all.” Mugs with metallic paint, gold or silver rims, or metallic-look glazes can spark or overheat in the microwave. Even some rustic or hand-thrown ceramic mugs with metallic oxide glazes can arc without any visible metal trim. Check the bottom of the mug for a microwave-safe label. If the mug is old, handmade, or a souvenir of unknown origin and has no label, do the water test: fill it halfway with water, microwave on high for 1 minute, then carefully touch the mug. If the mug is hotter than the water, it is absorbing too much energy and you should not use it for baking. Our guide to microwaving ceramic covers mug and dish safety in more detail.
Size matters: 12 ounces minimum. Cake batter rises as it cooks, sometimes dramatically. A standard 8-ounce coffee mug is too small for most mug cake recipes, and the batter will volcano over the edge onto your turntable. Use a mug that holds at least 12 ounces (about 350 ml), and never fill it more than halfway with batter. Tall, straight-sided mugs cook more evenly than short, wide ones, because the batter depth stays consistent.
Shape and thickness count too. Very thick-walled mugs slow the cooking slightly and can leave the center underdone while the outside looks finished. Very thin novelty mugs can get uncomfortably hot to handle. A normal, straight-sided ceramic mug in the 12 to 16 ounce range is the sweet spot.
How to Microwave a Mug Cake: The Method That Works
This is a reliable base method for a classic chocolate mug cake. It uses the yolk-only trick for tenderness and short-burst timing to avoid the rubber trap. Once you learn the method, you can adapt it to vanilla, peanut butter, or any other flavor.
Ingredients (one serving):
- 3 tablespoons all-purpose flour
- 2 tablespoons granulated sugar
- 1 tablespoon unsweetened cocoa powder
- 1/4 teaspoon baking powder
- Pinch of salt
- 3 tablespoons milk (dairy or plant-based; see our guide to microwaving milk for heating notes)
- 1 tablespoon neutral oil or melted butter
- 1 egg yolk (not the whole egg)
- 1/4 teaspoon vanilla extract
- 1 tablespoon chocolate chips (optional; our guide to microwaving chocolate explains why chips melt the way they do)
Steps:
- Pick the right mug. A microwave-safe mug, 12 ounces or larger, with no metallic trim. Lightly grease the inside with a little oil or butter so the cake releases cleanly.
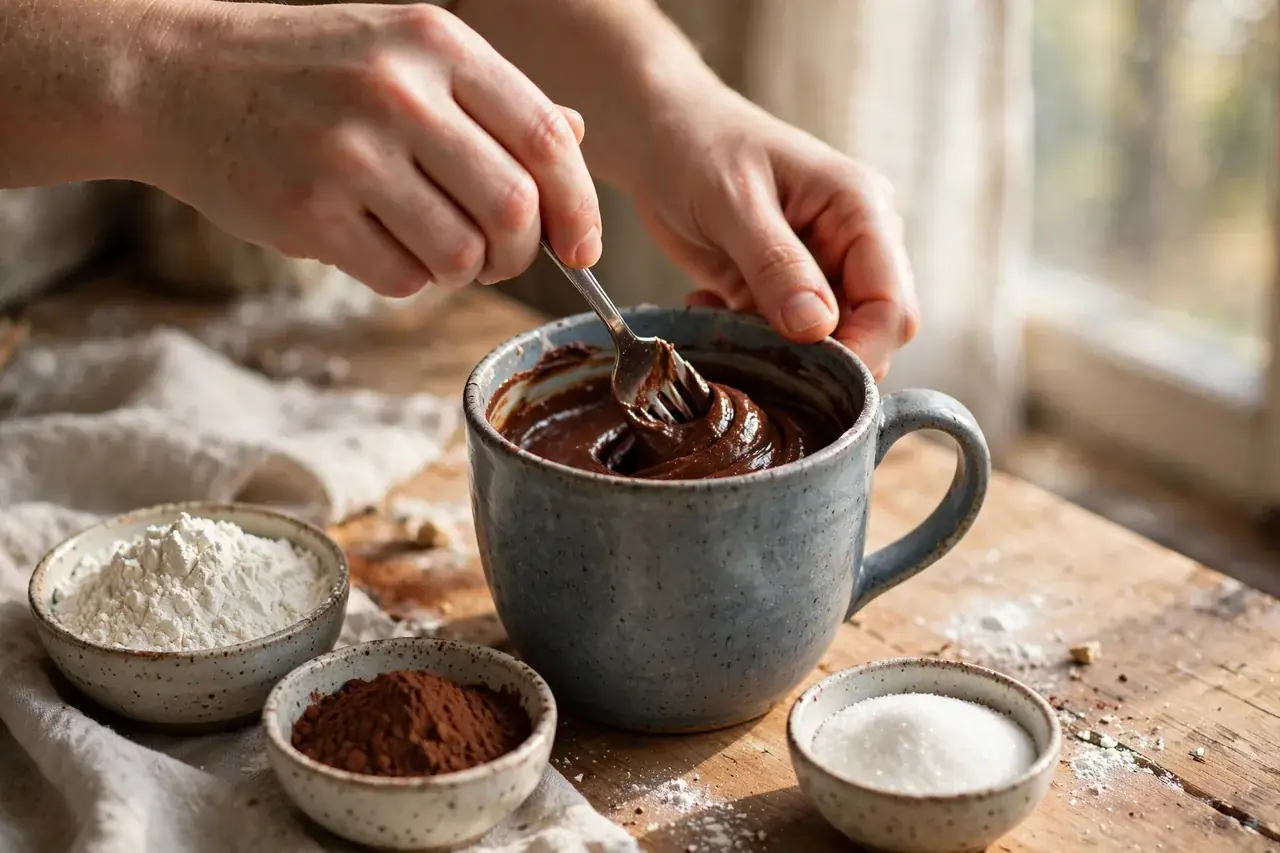
- Mix the dry ingredients first. Add the flour, sugar, cocoa powder, baking powder, and salt directly to the mug and stir with a fork until evenly combined. Mixing dry ingredients separately first gives you even leavening, which means an even rise instead of one lopsided half.
- Add the wet ingredients. Add the milk, oil, egg yolk, and vanilla. Stir gently with the fork until just combined and no dry flour remains. Stop as soon as the flour disappears. Overmixing develops gluten, and gluten is the enemy of a tender microwave cake. A few small lumps are fine.
- Fold in the extras. Stir in the chocolate chips if using. For a molten center, push a spoonful of peanut butter or Nutella into the middle of the batter instead of stirring it through.
- Check the fill level. The batter should fill no more than half the mug. If it is higher, split the batter into two mugs. An overfilled mug will overflow, and there is no fixing a lava spill mid-cook.
- Microwave in a smart way. Cook on full power for 60 seconds first. Then check: the top should look mostly set with a slightly glossy center. If the center still looks wet and jiggly, add 10-second bursts until the top is just set. Most 900 to 1000 watt microwaves finish in 60 to 90 seconds total. For a gentler, more even rise, use 30 percent power for 2 minutes 30 seconds instead; several experienced bakers consider low power the secret to avoiding a gummy top with a raw middle.
- Rest for 2 minutes. Do not skip this. The cake is still cooking inside from residual heat. Pulling it early, when the center is just slightly underdone, and letting it rest gives you a moist, molten-like center instead of a dry, overcooked one. The mug will be hot, so handle it with a towel or oven mitt.
That is the whole method. The two steps people skip, the yolk-only swap and the 2-minute rest, are the two steps that separate good mug cakes from bad ones.
Mug Cake Times by Microwave Wattage
Microwave wattages vary a lot, and wattage changes everything about timing. A 1200-watt microwave can incinerate a mug cake in 45 seconds, while an older 700-watt dorm microwave might need the full 90 seconds or more. Use this table as a starting point on full power, then adjust in 10-second bursts.
| Microwave wattage | Starting time (full power) | Notes |
|---|---|---|
| 700 watts (older/compact) | 90 seconds | Check at 75 seconds. May need up to 2 minutes. |
| 900 watts (most common) | 70 seconds | The sweet spot for most recipes. Add 10-second bursts as needed. |
| 1000 watts (standard full-size) | 60 seconds | Check early. 15 extra seconds here means rubber. |
| 1100 to 1200 watts (high power) | 45 to 50 seconds | Consider 70 to 80 percent power instead of full power. |
| Any wattage, gentle method | 2 min 30 sec at 30% power | More even rise, less risk of gummy top and raw middle. |
If you do not know your microwave’s wattage, check the label inside the door or on the back panel. When in doubt, start with less time. You can always add 10 seconds. You cannot un-cook a rubbery cake.
7 Mistakes That Ruin Mug Cakes (and How to Fix Them)
Almost every mug cake failure traces back to one of these seven mistakes. They come up constantly in forums and troubleshooting guides, and the fixes are simple once you know what to look for.
1. Overcooking by 15 seconds. This is the number one killer. Mug cakes go from perfect to rubbery in about 15 seconds of extra time. Fix: always start with the shortest time in the recipe, check early, and add 10-second bursts only if the center is still visibly wet. Remember carry-over cooking finishes the job during the rest.
2. Using a whole egg. A whole egg has too much protein for a single-serving batter, and the white in particular sets into a bouncy, rubbery crumb in the microwave’s intense heat. Fix: use just the yolk, which adds richness and binding without the chewiness. Or skip egg entirely and use a tablespoon of plain yogurt or applesauce.
3. Overmixing the batter. Stirring too long or too hard develops gluten in the flour, which turns the crumb tough and chewy. Fix: stir until the flour just disappears, then stop. Lumps are fine and will cook out.
4. Too much flour. Scooping flour straight from the bag with the measuring spoon packs it down and can add up to 25 percent more flour than the recipe intends. The result is a dry, dense cake. Fix: spoon the flour into the measuring spoon and level it with a knife, or weigh it if you have a scale.
5. The wrong mug. A mug that is too small overflows. A mug with metallic trim sparks. A very thick handmade mug cooks unevenly. Fix: 12 ounces minimum, microwave-safe labeled, no metallic decoration, filled no more than halfway.
6. Skipping the rest. Cutting into the cake straight out of the microwave means eating it at its most volatile: the center may look underdone, tempting you to cook it more, when 2 minutes of resting would have finished it perfectly. Fix: rest the cake 2 full minutes before touching it. Set a timer if you are impatient.
7. Old baking powder. Baking powder loses its lifting power over time, especially once opened. In a microwave, where the cook time is barely a minute, you need that chemical reaction to happen fast. Flat, dense mug cakes often trace back to a tin of baking powder that has been open for a year. Fix: replace opened baking powder every 6 to 12 months, and check the date before baking.
Can You Microwave Mug Cake Batter With Egg?
Yes, but how you handle the egg decides the texture. The classic problem is the “eggy” mug cake: a cake that tastes faintly of sulfur and bounces like a rubber ball. This happens when a whole egg meets microwave heat in a tiny batter volume. The egg white proteins tighten aggressively, squeezing out moisture.
You have three good options. First, use only the yolk, as in the method above. The yolk’s fat enriches the crumb and binds it without the rubbery protein network of the white. Second, skip the egg and use a tablespoon of plain yogurt, applesauce, or mashed banana. These add moisture and binding with no egg flavor at all, and they work well in chocolate cakes where the cocoa covers any subtle taste difference. Third, for a firmer, more traditional cake texture, use half a beaten egg (beat one egg, use half, save the rest for scrambled eggs).
Whatever you choose, make sure the cake cooks through. Egg needs to reach 160°F (71°C) to be fully safe, and a properly cooked mug cake, set on top with no wet batter visible, gets well past that in the center during the rest. If the middle is still liquid after resting, it needed more time.
Easy Variations: Vegan, Gluten-Free, and No-Egg Mug Cakes
The base method adapts easily to dietary needs, with a few honest caveats.
Vegan mug cake: swap the milk for almond, oat, or soy milk, use oil instead of butter, and replace the egg yolk with a tablespoon of applesauce or a flax egg (1 tablespoon ground flaxseed mixed with 2.5 tablespoons water, rested 5 minutes). The texture will be slightly denser but still tender if you do not overcook it.
Gluten-free mug cake: use a 1:1 gluten-free flour blend that contains xanthan gum. Do not use coconut flour or almond flour alone as a direct swap; the starch-to-protein ratio of wheat flour is what holds the air bubbles, and going grain-free without a binder gives you warm porridge instead of cake. If you experiment with alternative flours, add xanthan gum or the cake will not hold together.
No-egg mug cake: simply leave the egg out and add an extra tablespoon of milk plus a tablespoon of yogurt or applesauce. Many bakers actually prefer eggless mug cakes for tenderness, since there is no egg protein to turn rubbery at all.
Flavor variations: swap the cocoa for an extra tablespoon of flour plus a teaspoon of vanilla for a vanilla mug cake. Stir a spoonful of peanut butter into the center before cooking for a molten core. Add a pinch of espresso powder to deepen chocolate flavor, or a pinch of cinnamon for warmth. Keep the total batter volume the same so the timing still works.
Storing and Reheating a Mug Cake
Mug cakes are at their best in the 10 minutes after the rest period. They do not store well, and every reheating makes the texture worse, because each round of microwaving tightens the crumb further.
If you must save one, cover the mug tightly and refrigerate for up to 24 hours. To reheat, microwave for just 10 to 15 seconds, enough to take the chill off, not to cook it again. Expect a denser, chewier result than fresh. For longer storage, the batter (mixed, uncooked) keeps in the fridge for a day; microwave it fresh when you want it. Never store cooked mug cake at room temperature for more than 2 hours.
The honest advice: make only what you will eat right now. A mug cake takes 5 minutes total. That is the whole point.
Frequently Asked Questions
These are the questions people actually ask about microwaving mug cakes, answered directly.
Is it safe to microwave a mug cake?
Yes, when the cake cooks through. Use a microwave-safe mug with no metallic trim, and cook until the top is set with no wet batter visible, then rest 2 minutes. Fully cooked batter reaches temperatures that kill bacteria from raw flour and egg. Do not eat raw batter.
Why is my mug cake rubbery?
Almost always overcooking. Even 15 to 20 extra seconds turns a soft mug cake rubbery, because the intense microwave heat tightens the flour and egg proteins fast. Use the shortest time in the recipe, check early, add 10-second bursts only if needed, and rest 2 minutes before eating. Using a whole egg instead of just the yolk also causes rubberiness.
How long do you microwave a mug cake?
60 to 90 seconds on full power for most 900 to 1000 watt microwaves, starting at 60 and adding 10-second bursts. High-wattage microwaves (1100+) need only 45 to 50 seconds. For a gentler rise, use 30 percent power for 2 minutes 30 seconds. Always stop when the center still looks slightly glossy; it finishes cooking during the rest.
Can I use any mug for a mug cake?
No. Use a microwave-safe mug of at least 12 ounces with no metallic paint, gold or silver rim, or metallic-look glaze. Metallic decoration can spark in the microwave. If an unmarked mug gets hotter than the water inside it during a 1-minute water test, do not use it for baking.
Why did my mug cake overflow?
The mug was too small or too full. Batter rises significantly as it cooks. Use a 12-ounce or larger mug and fill it no more than halfway with batter. If a recipe looks like too much batter for your mug, split it into two mugs rather than risking a spill.
Can you microwave a mug cake without egg?
Yes, and many bakers prefer it. Replace the egg with a tablespoon of plain yogurt, applesauce, or mashed banana. Eggless mug cakes are often more tender because there is no egg protein to turn rubbery, and you skip any eggy flavor entirely.
Why is the middle of my mug cake raw while the edges are done?
Microwaves heat unevenly, so edges cook faster than the center. This is normal. Stop cooking when the top looks set but slightly glossy in the middle, then rest 2 minutes; carry-over heat finishes the center. If the middle is still liquid after resting, give it one more 10-second burst. Cooking at 30 percent power for longer also evens things out.
Can you make a mug cake in the oven instead?
Yes. Pour the batter into an oven-safe ramekin and bake at 350°F (175°C) for 12 to 15 minutes, until the top is set and a toothpick comes out with moist crumbs. The texture will be more like traditional cake. But the microwave is the whole point of a mug cake: 90 seconds versus 15 minutes.
Is it safe to eat raw mug cake batter?
No. The FDA warns that raw flour can carry Salmonella and E. coli, and batter often contains raw egg as well. Cooking is the only way to make flour-containing foods safe. Do not taste-test the batter; wait until the cake is fully cooked.
Why does my mug cake taste eggy?
A whole egg in a single-serving batter is too much protein, and it can give a sulfurous, eggy flavor plus a rubbery texture. Fix it by using just the yolk, or skip the egg and use yogurt or applesauce. Adding a little extra vanilla also masks any remaining egg taste.
Can you double a mug cake recipe in one mug?
Not in one mug. Doubling the batter in a single mug leads to uneven cooking: raw middle, overcooked edges, and a high overflow risk. Split doubled batter into two mugs and microwave them one at a time for even results.
How do you keep a mug cake moist?
Do not overcook it (the main cause of dryness), measure flour by spooning it into the spoon rather than scooping, use the yolk instead of a whole egg, and rest the cake 2 minutes before eating. A tablespoon of yogurt or applesauce in the batter also adds lasting moisture.
Can you reheat a mug cake?
You can, but it will never be as good as fresh. Cover and refrigerate up to 24 hours, then microwave just 10 to 15 seconds to take the chill off. Any longer and the crumb tightens further. Mug cakes are best eaten within 10 minutes of cooking.
What wattage is best for mug cakes?
Any wattage works if you adjust the time: 700W needs about 90 seconds, 900 to 1000W needs 60 to 70 seconds, and 1100W+ needs 45 to 50 seconds. Lower-wattage microwaves are actually more forgiving, since the cake cooks more gently. High-wattage owners should consider 70 to 80 percent power.
Can you microwave a store-bought mug cake mix?
Yes. Follow the package directions exactly, since the mix is formulated for a specific time and mug size. The same rules apply: microwave-safe mug, do not overfill, rest before eating. Package mixes also carry the FDA’s raw-flour warning, so cook them fully and do not eat the dry mix or raw batter.
The Bottom Line
You can absolutely microwave a mug cake, and when you respect the details it is one of the best uses of a microwave in the kitchen. The formula is simple: a microwave-safe 12-ounce mug, batter filled halfway, gentle mixing, the yolk instead of a whole egg, the shortest cooking time your wattage allows, and a full 2-minute rest. Skip the rest or add 15 careless seconds and you get the rubbery puck everyone complains about. Get those two things right and you get warm, soft, genuinely good cake in under five minutes, which is exactly what the mug cake promised all along.
