

You need melted chocolate. Maybe it is for dipping strawberries, drizzling over cookies, or making a ganache that will impress people far more than the effort deserves. The double boiler feels like a production: a pot, a bowl, simmering water, constant watching. The microwave is right there, and you have heard it can melt chocolate just fine. It can, and professional bakers do it regularly. But chocolate is one of the least forgiving things you can put in a microwave, because the line between perfectly melted and scorched is about fifteen seconds wide.
The good news is that the method is simple once you know it: low power, short bursts, stir constantly, and stop before it looks done. This guide gives you the exact step-by-step, timing tables for every chocolate type, the power level that manufacturers recommend, the real reasons chocolate seizes or burns (they are two different problems), how to rescue a batch that went wrong, and an honest microwave-versus-double-boiler comparison so you can pick the right tool for each job.
The Short Answer
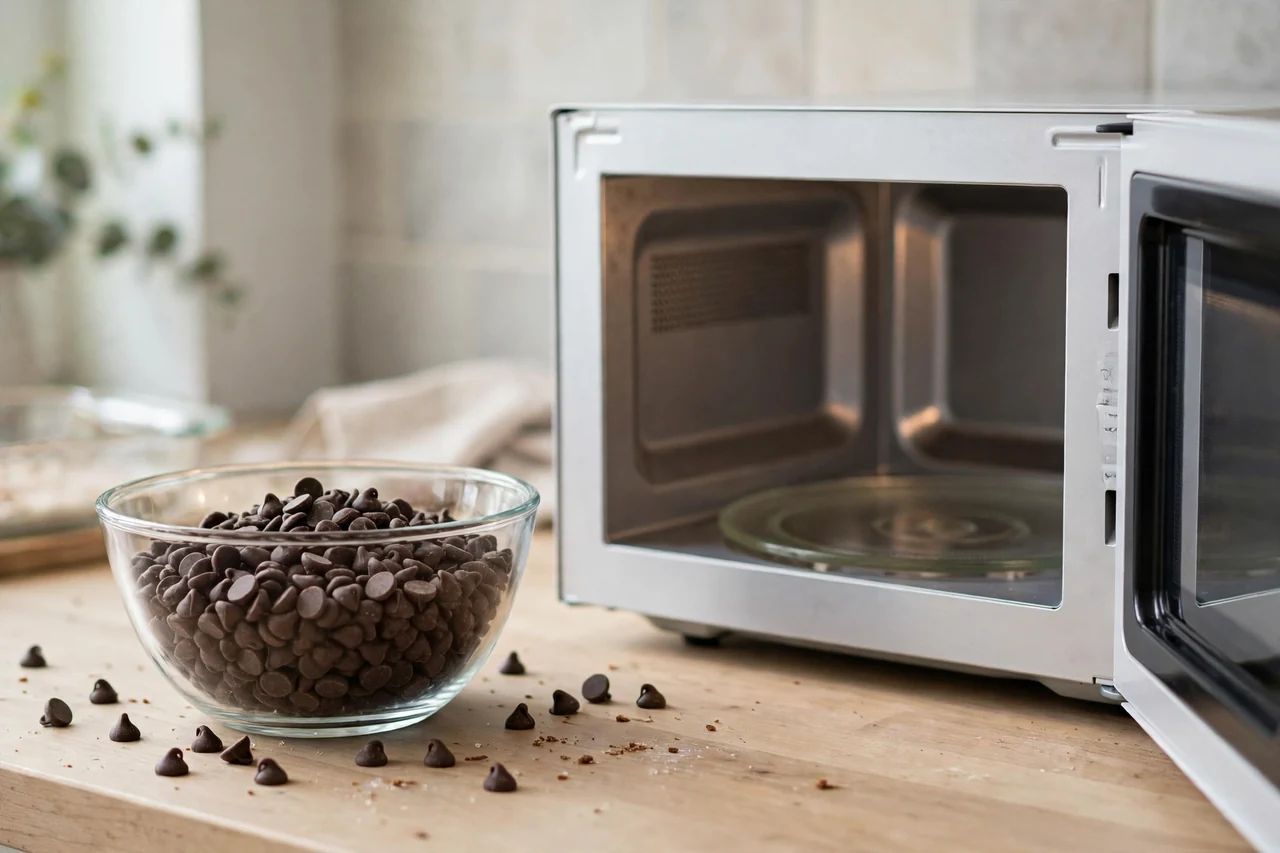
Yes, you can melt chocolate in the microwave, and it is the fastest reliable method when you do it right. Chop the chocolate evenly (or use chips), place it in a dry microwave-safe glass or ceramic bowl, and microwave at 50 percent power in 30-second bursts, stirring thoroughly between each burst. Stop when the chocolate is about 80 percent melted with a few lumps left; the residual heat will melt the rest as you stir.
The two rules that prevent nearly all disasters: never use full power, because chocolate burns in seconds at high heat; and never let water touch the chocolate, because even a drop makes it seize into a grainy paste. Follow those, and the microwave gives you smooth, glossy melted chocolate in about two minutes. For a broader look at what your microwave handles well, see Can You Microwave It? The Complete Safety Chart.
How to Melt Chocolate in the Microwave: Step by Step
This is the method recommended, with small variations, by chocolate makers and baking authorities alike, and it works for bars, chips, and candy melts.
Start with the right bowl. Use a microwave-safe glass, ceramic, or silicone bowl, and make sure it is completely dry. Any water clinging to the bowl, the spatula, or your hands can cause seizing, so dry everything deliberately. Glass is ideal because it heats gently and lets you see what is happening. Check the bottom for the microwave-safe mark if you are unsure; the guide at Microwave-Safe Symbols Decoded shows every version of it.
Prepare the chocolate for even melting. If you are using a bar, chop it into small, uniform pieces, roughly chip-sized. Uneven chunks are the number one cause of half-burnt, half-solid results, because the small pieces melt long before the big ones do. Chocolate chips can go in as they are, since they are already uniform.
Set your microwave to 50 percent power. This is the setting Hershey’s own melting instructions recommend, and Guittard agrees, according to the detailed chip-melting guide at The Tasty Tip. Half power does not mean half heat; it means the microwave cycles on and off, giving the heat time to spread through the chocolate between pulses instead of scorching the edges.
Microwave for the first burst: 60 to 90 seconds at 50 percent power for 1 cup of chips. The chocolate will look shiny and mostly still solid, which is normal. Chocolate holds its shape even as it melts, so do not judge by appearance. Remove the bowl and stir thoroughly with a dry silicone spatula, scraping the sides and bottom.
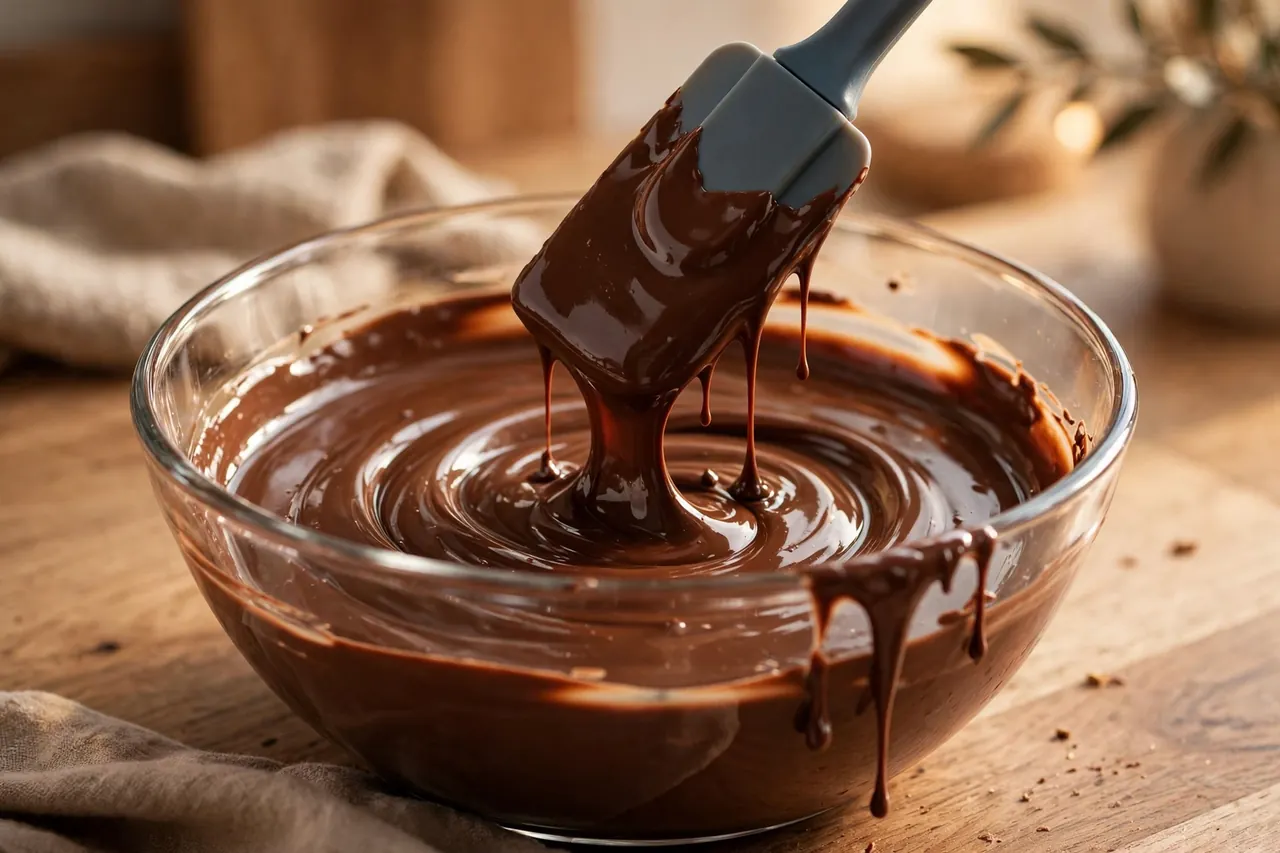
Continue in 15 to 30-second bursts at 50 percent power, stirring well after every single one. Stirring is not optional; it distributes heat, melts the softened pieces, and prevents hot spots from forming at the bowl’s edges. When the chocolate is about 80 to 85 percent melted with just a few small lumps remaining, stop microwaving. Stir for a full minute, and the residual heat will melt the remaining lumps into a smooth, glossy pool.
Use the melted chocolate promptly. It begins to set as it cools, which is normal. If it thickens while you are working, give it a 10-second burst at 50 percent power and stir, rather than a long reheat.
How Long to Microwave Chocolate
Time depends on the amount, the type, and your microwave’s wattage. This table is for 50 percent power in a standard 1,000-watt microwave, using the burst-and-stir method.
| Chocolate | Amount | Total microwave time (50% power) |
|---|---|---|
| Dark chocolate chips or chopped | 1 cup (6 oz) | About 2 minutes in bursts |
| Milk chocolate chips or chopped | 1 cup (6 oz) | About 1 and a half minutes in bursts |
| White chocolate chips or chopped | 1 cup (6 oz) | About 1 minute in bursts |
| Any chocolate | 2 cups (12 oz) | About 3 minutes in bursts, work in batches if unsure |
| Candy melts / melting wafers | 1 cup | About 1 and a half minutes in bursts |
White chocolate needs the shortest time and the most attention, because it has the most milk solids and sugar and the least cocoa structure, so it scorches fastest. Dark chocolate is the most forgiving. These are starting points, not promises: microwaves vary, so watch the chocolate, not the clock, and remember that you can always add another 15 seconds but you cannot un-burn chocolate.
King Arthur Baking’s melting guide notes that 1 cup of chips typically takes about three 30-second bursts (90 seconds) even at regular power in their test microwave, which shows how fast this goes. Their key advice matches everyone else’s: stop early and let stirring finish the job.
What Power Level Should You Use?
Fifty percent power, as a rule, for all chocolate melting. Here is why the number matters so much.
A microwave at full power dumps energy into the chocolate continuously, and chocolate is terrible at spreading heat around. The edges of the bowl get hot while the center stays solid, and by the time the center melts, the edges have scorched. At 50 percent power, the microwave cycles the magnetron on and off, and during the off cycles the heat migrates from the hot spots into the cooler chocolate. The result is dramatically more even melting with a much wider margin for error.
Some package instructions, notably Nestle Toll House, say to melt on HIGH in short bursts. That can work if you are extremely attentive, but it gives you almost no margin: the difference between melted and burnt at full power can be ten seconds. Melting at 50 percent power is the method chocolate manufacturers themselves recommend for reliability, and unless you enjoy living dangerously, it is the one to use.
If your microwave does not show percentages, look for a “power level” button and set it to 5 out of 10, or use the defrost setting, which typically runs around 30 percent power and works fine with slightly longer bursts. The exact number matters less than the principle: gentle, cycled heat beats a full blast every time.
Why Chocolate Seizes (And How It Differs From Burning)
Seizing and burning are the two ways chocolate melting goes wrong, and they are completely different problems with different causes and different fixes. Knowing which one you have matters.
Seizing is caused by water. Chocolate is a suspension of cocoa solids and sugar in cocoa butter, and it is extremely sensitive to moisture. When even a tiny amount of water hits melted chocolate, the sugar and cocoa particles clump together instantly, turning your smooth liquid into a thick, grainy, seized paste. The triggers are almost embarrassingly small: a wet bowl, a damp spatula, steam condensing from a nearby pot, or a single drop of water flicked in by accident. This is why every melting guide, including Whitaker’s Chocolates’ microwave guide, insists on a completely dry bowl as step one.
Seized chocolate looks dull, stiff, and grainy, and it happens suddenly, often the moment the water hits. The cruel irony is that a tablespoon of water ruins chocolate while a quarter cup of hot liquid, stirred in properly, is how you make ganache. Small amounts of water cause seizing; large amounts, added deliberately with stirring, dissolve the sugar and make a sauce. It is the in-between, accidental drips that cause the damage.
Burning, by contrast, is caused by heat. Overheated chocolate goes from glossy to dull, develops a scorched bitter taste, and can turn thick and pasty in a different way from seizing. Burnt chocolate often smells faintly acrid, and unlike seized chocolate, it cannot be rescued. The fix for burning is prevention: low power, short bursts, constant stirring, and stopping early.
Why Chocolate Burns in the Microwave
Chocolate burns because it is heated past the point its structure can handle, and the microwave makes that easy to do by accident. Cocoa butter melts between roughly 93 and 100 degrees Fahrenheit, but chocolate’s flavor and texture start degrading well before it looks burnt. Food writers who temper chocolate in the microwave work within precise ranges: about 114 to 118 degrees for dark chocolate, 108 to 113 for milk, and 105 to 110 for white, and they treat those ceilings as serious.
Three specific mistakes cause most microwave chocolate burning. First, full power, which scorches the edges before the center even softens. Second, long uninterrupted bursts, because chocolate keeps absorbing heat with no chance for it to equalize; the jump from “almost melted” to “burnt” can happen inside a single 60-second burst at high power. Third, not stirring, which lets hot spots at the bowl’s edges climb to scorching temperatures while the middle looks untouched.
White chocolate deserves a special warning because it burns faster than any other type. It contains no cocoa solids, only cocoa butter, milk solids, and sugar, and those milk solids scorch at relatively low temperatures. If you are melting white chocolate, cut every time in the table by a third, stir obsessively, and stop at the first sign of smoothness. Milk chocolate sits in the middle; dark chocolate, with the least sugar and milk, is the most heat-tolerant.
The visual trap is worth naming explicitly: chocolate does not look melted when it is melted. It holds its chip shape long after the inside has liquefied, which tempts people to keep microwaving “until it looks done.” By the time it looks done, it is overdone. Trust the stir, not your eyes: if stirring moves liquid chocolate around solid-looking chips, it is further along than it appears.
How to Fix Seized Chocolate (And What Cannot Be Fixed)
If your chocolate seized from water contact, you can often save it, depending on what you needed it for. Stir in hot liquid, a tablespoon at a time: hot water, hot cream, or hot milk, stirring constantly. The extra liquid dissolves the clumped sugar and turns the paste back into a fluid, glossy sauce. It will not return to perfect dipping chocolate, the texture is thinner now, but it makes an excellent ganache, fondue, or ice cream topping. Add the liquid hot, not cold, and add it gradually; dumping in cold liquid just makes things worse.
If your chocolate burnt from overheating, it cannot be saved. Scorched chocolate has a bitter, acrid flavor that permeates the whole batch, and no amount of stirring or added ingredients removes it. This is the painful lesson every chocolate melter learns once: when in doubt, throw the burnt batch out and start over, because a dessert made with scorched chocolate tastes scorched.
Prevention, restated as a checklist you can tape inside a cabinet door: dry bowl, dry spatula, dry hands. Fifty percent power. Thirty-second bursts, then fifteen. Stir every time, scraping the bowl. Stop at 80 percent melted. Add nothing wet unless you are deliberately making ganache. Follow that and you will rarely need the rescue techniques.
Microwave vs Double Boiler: Which Is Better?
The double boiler, a bowl set over simmering water, is the traditional method, and it has one unbeatable advantage: it is nearly impossible to burn chocolate in it, because the steam heat is gentle and capped. King Arthur Baking’s comparison calls the double boiler “impossible to burn” while rating the microwave “quick and easy” with the caveat that a few seconds too many can burn the chocolate.
The double boiler’s weakness is water, chocolate’s other enemy. A pot of simmering water right under your bowl means steam is constantly rising around it, and one careless tilt can drip condensation into the chocolate and seize the whole batch. The microwave has no water anywhere near it, which removes the seizing risk almost entirely.
Here is the honest breakdown:
| Factor | Microwave | Double boiler |
|---|---|---|
| Speed | About 2 minutes | 5 to 10 minutes |
| Burn risk | Real, needs attention | Nearly zero |
| Seize risk | Very low (no water nearby) | Real (steam everywhere) |
| Equipment | A bowl | Pot plus bowl |
| Best for | Quick melting, small batches | Large batches, tempering, maximum control |
For most home purposes, melting a cup or two of chocolate for dipping or drizzling, the microwave wins on convenience and the risk is fully manageable with the method above. For tempering chocolate for professional-looking dipped candies, or for melting large quantities, the double boiler’s gentle control earns its extra dishes. Many bakers use both: microwave for speed, double boiler for finesse.
Tips for Different Chocolate Types
Dark chocolate (60 to 70 percent cacao) is the easiest to microwave: most forgiving of heat, least likely to seize from minor moisture, and it melts into the glossiest pool. Use the standard method with 30-second bursts.
Milk chocolate needs slightly shorter bursts and closer watching, because its milk solids scorch more easily than dark chocolate’s. Fifteen to 20-second bursts after the first round, and stop the moment it looks close.
White chocolate is the diva. Shortest bursts, most stirring, lowest tolerance for inattention. Some bakers melt white chocolate entirely with 15-second bursts at 50 percent power. It also seizes at the slightest hint of moisture, so be extra strict about the dry-bowl rule.
Chocolate chips contain stabilizers that help them hold their shape, which means they resist melting slightly more than chopped bar chocolate but also resist burning slightly better. They are a fine choice for microwave melting and the most convenient, since there is no chopping.
Candy melts and melting wafers are formulated for melting and are the most forgiving of all, but they still burn if you blast them. Use the same 50-percent-power method, and note that white-colored melts scorch as fast as white chocolate.
One thing never to microwave: chocolate in its packaging. Foil wrappers arc, plastic cups warp, and cardboard boxes scorch. Always transfer chocolate to a proper bowl first. And never use a plastic bowl that is not labeled microwave-safe; softened plastic and hot chocolate are a bad combination, a point covered in Can You Microwave Plastic?.
Frequently Asked Questions
Direct answers to the real questions people ask about microwaving chocolate.
Can you melt chocolate in the microwave?
Yes, and it is one of the fastest reliable methods. Use a dry microwave-safe bowl, set 50 percent power, and heat in 30-second bursts, stirring thoroughly between each one. Stop when the chocolate is about 80 percent melted and let residual heat finish the job. The keys are low power and constant stirring; full power or long bursts are what burn chocolate.
How long do you microwave chocolate?
One cup of dark chocolate chips takes about 2 minutes total at 50 percent power, broken into bursts with stirring. Milk chocolate takes about a minute and a half; white chocolate about a minute. These are starting points, since microwaves vary. Always work in 30-second bursts, then 15-second bursts near the end, and stop early rather than late.
Why did my chocolate seize or burn in the microwave?
Seizing and burning are different problems. Seizing, where the chocolate suddenly turns thick and grainy, is caused by water contact: a wet bowl, a damp spatula, or steam. Burning, where it tastes bitter and scorched, is caused by too much heat: full power, long bursts, or no stirring. Seized chocolate can sometimes be rescued into a sauce; burnt chocolate cannot be saved.
What power level should you use for melting chocolate?
Fifty percent power. At half power the microwave cycles on and off, giving heat time to spread evenly through the chocolate instead of scorching the edges. Full power melts the outside long before the inside and gives you almost no margin for error. If your microwave lacks a power setting, use the defrost mode, which runs at roughly 30 percent power.
Microwave vs double boiler for chocolate, which is better?
The microwave is faster (2 minutes versus 5 to 10) and has almost no seizing risk, but it can burn chocolate if you are careless. The double boiler is nearly impossible to burn chocolate in, but the simmering water underneath creates a real seizing risk from steam. For quick small batches, the microwave wins; for tempering or large batches, the double boiler’s gentle control is worth the extra equipment.
Can you microwave chocolate chips?
Yes, chocolate chips are actually convenient for microwaving because their uniform size melts evenly with no chopping needed. Use the standard method: dry bowl, 50 percent power, 30-second bursts with stirring. Remember that chips hold their shape even when melted inside, so stir to check progress rather than trusting their appearance.
Why does white chocolate burn so easily?
Because it contains milk solids and sugar but no cocoa solids, and milk solids scorch at relatively low temperatures. White chocolate also has the narrowest safe temperature window of any chocolate type. Melt it in 15-second bursts at 50 percent power, stir constantly, and stop at the first sign of smoothness. It goes from perfect to scorched faster than you expect.
Can you fix seized chocolate?
Often, yes, if you do not need it for dipping. Stir in hot liquid, a tablespoon at a time, hot cream or hot water, stirring constantly until the grainy paste loosens into a smooth sauce. It becomes ganache or fondue rather than dipping chocolate, which is a perfectly good outcome. Burnt chocolate, by contrast, cannot be fixed; the scorched flavor permeates the batch.
Should you add butter or oil when melting chocolate?
You can, and a teaspoon of neutral oil or coconut oil per cup of chocolate makes the melted chocolate slightly more fluid and forgiving, which helps for dipping. But it is optional, not required, and it changes the set texture slightly. Do not add butter to fix seizing; butter contains water, which makes seizing worse. For rescue, use hot cream or hot water instead.
Can you melt chocolate in its packaging?
No. Foil wrappers cause arcing and sparks, plastic cups can warp and leach, and cardboard boxes can scorch. Always transfer the chocolate to a dry, microwave-safe glass or ceramic bowl first. This takes thirty seconds and removes every packaging risk at once.
Why do you have to stir chocolate between microwave bursts?
Because microwaves heat unevenly, creating hot spots at the bowl’s edges while the center stays solid. Stirring distributes that heat through the whole mass, melts the softened pieces with residual warmth, and prevents any one spot from climbing to scorching temperature. Stirring is the single most important habit in microwave chocolate melting; skipping it is how most batches burn.
Can you remelt chocolate that has hardened?
Yes. Chocolate that has cooled and set can be remelted with the same method: 50 percent power, short bursts, stirring. It may take slightly less time the second round since you know the drill. One caution: chocolate that has been melted and cooled multiple times can develop a dull appearance or whitish bloom, which is harmless but less pretty for decorative work.
Is microwaved chocolate good for dipping strawberries and pretzels?
Yes, it is excellent for dipping, as long as you melt it properly. Smooth, glossy, fluid chocolate at the right temperature coats evenly and sets with a nice snap. The one extra rule for dipping: make sure whatever you dip is completely dry, because water on a strawberry does the same seizing damage as water in the bowl. Pat fruit dry before it goes near the chocolate.
What is the best bowl for melting chocolate in the microwave?
A microwave-safe glass bowl, preferably one with some depth to it. Glass heats gently and evenly, does not react with chocolate, and lets you see the melting progress. Ceramic works well too. Avoid thin plastic bowls unless they are explicitly labeled microwave-safe, and make sure whatever you use is completely dry before the chocolate goes in.
The Bottom Line
Microwaving chocolate is a skill with a tiny rulebook and a big payoff. Dry bowl, 50 percent power, short bursts, stir every time, stop at 80 percent melted. That is the whole method, and it produces smooth, glossy chocolate in about two minutes with no pot to wash and no steam to dodge.
Respect the two enemies, water and excessive heat, and the microwave becomes the most convenient chocolate-melting tool in your kitchen. Burn one batch by blasting it at full power and you will never do it again, which is the traditional tuition for this particular lesson. Learn it from this guide instead, and keep the double boiler for the days when you are tempering like a professional.
